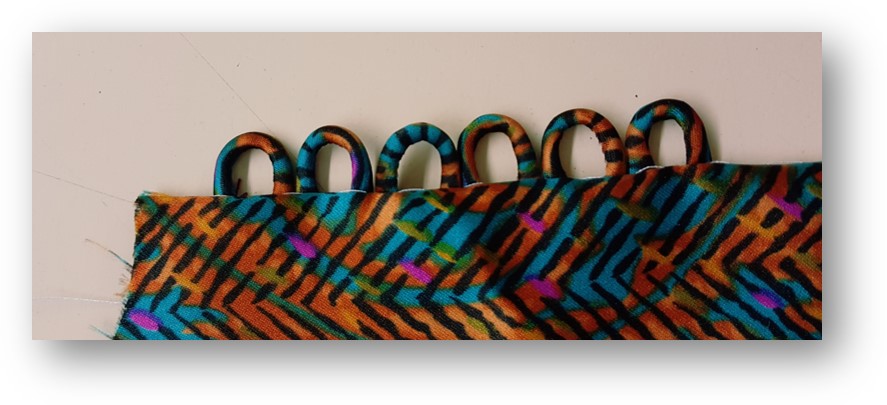
“QUEUE DE RAT” BUTTON LOOP
1.Cut through the fabric as many rectangle as desired.
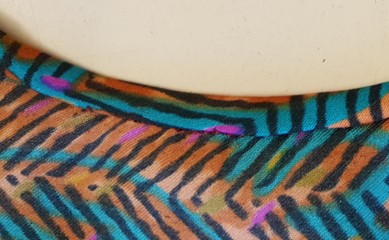
Right front with flanges/Left front with buttons
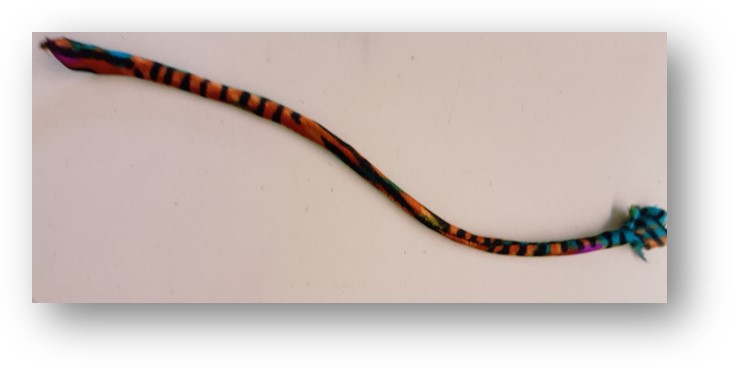
2.Slide “rat tails” out of the way so they are round.
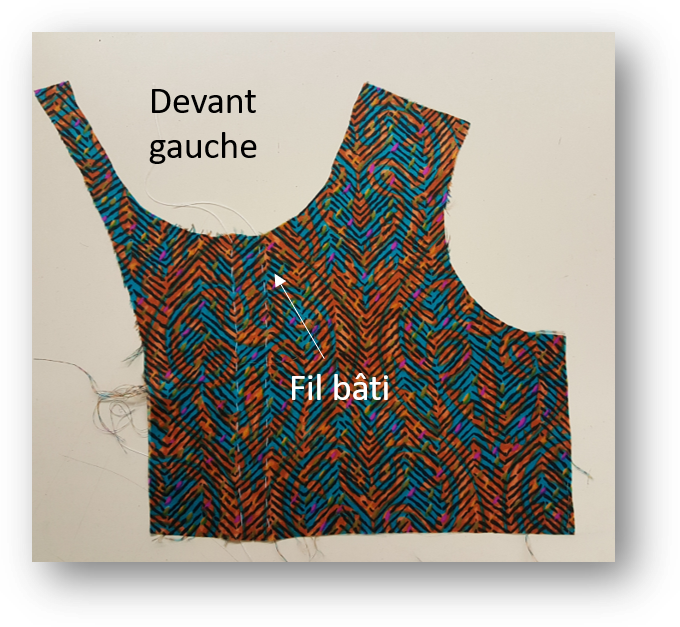
3.Pass a notch rack wire to represent on my right front the place where I position my clamps and on the left front my crossing and the place of the buttons.
4.On the right front place the clamps at the end of the rack wire outwards. Stitch from the top of the model, placing the rat tail seam well up.
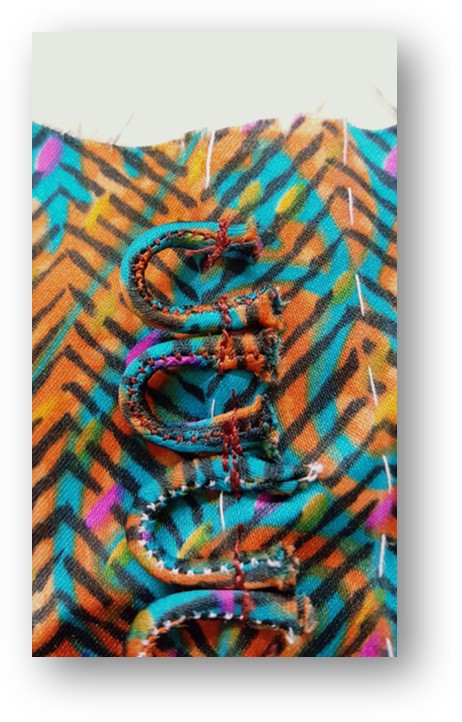
5.Form a loop with each flange of the same size (the flanges must touch each other).
6.Throw all the way around the front.
7.Slide 5 mm the neck and the parmenture on both fronts.
8.On the right front fold down the parmenture by taking in sandwish the rat tail and stitch the or is placed the frame wire.

9.Slide down to 20mm for the beginning of the filling.
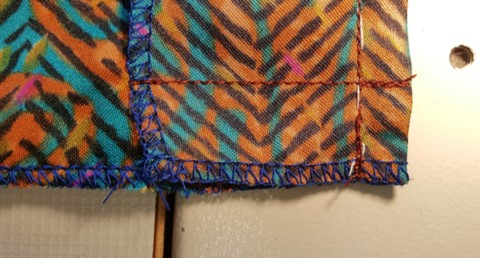
10.Cranter/Flip/Iron.
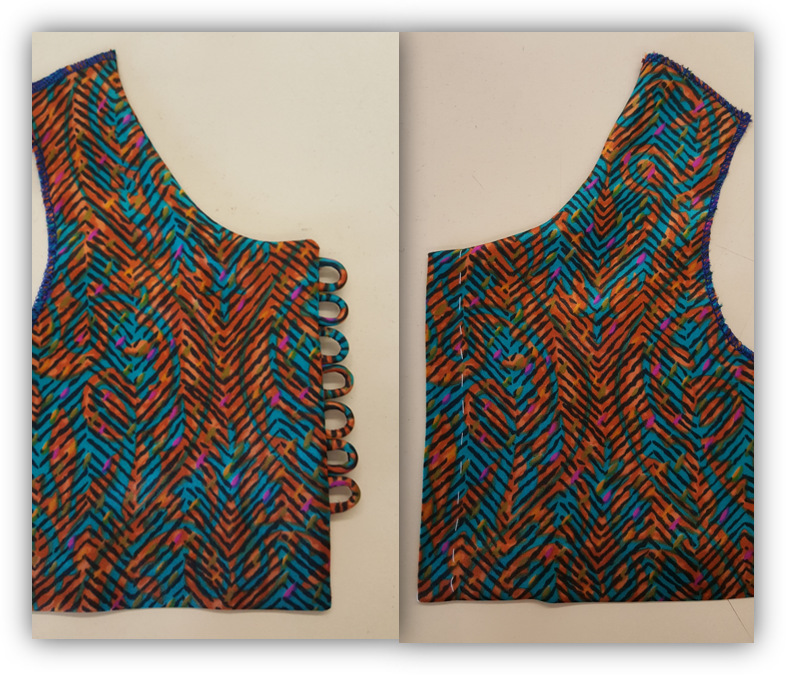
11.Make a stitch invisible to the filled.

12.Cut a hole for the armhole.
13.Slide the bias to the RS.

14.Shape the bias on the WS and sew it by hand.
15.Iron.
16.Place the buttons and sew them.

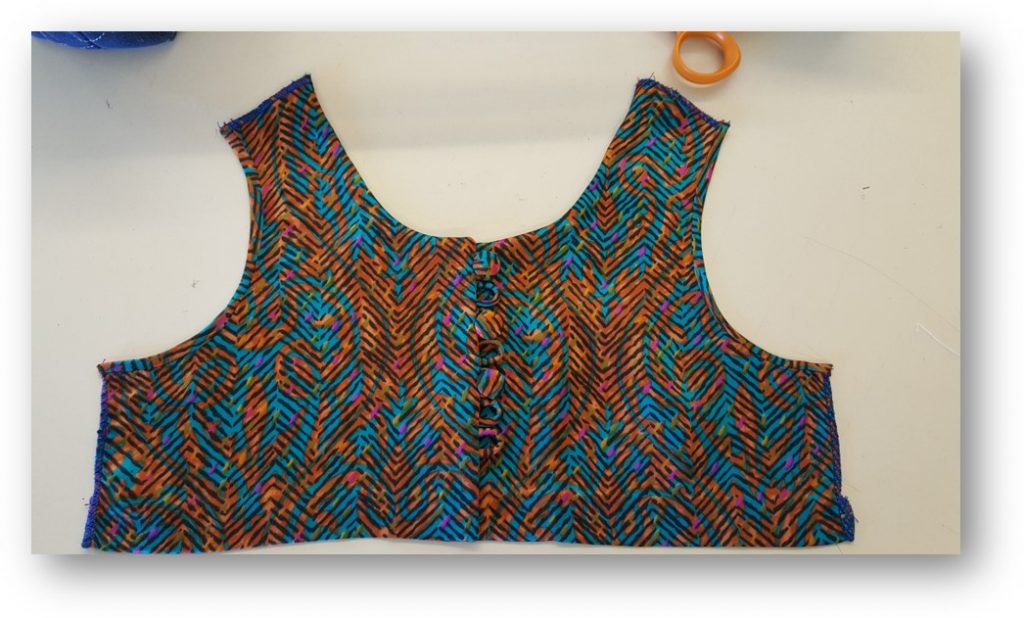
FINAL RESULT